In our series of introducing our interesting production workflows to the public, this time, let’s look into how we have created our recent animated explainer video production, Blissage – the yoga mattress. This spectacular project has combination of both 2D and 3D blended seamlessly within respectful running time.
In the steps of narrowing down the process, here, we will learn a bit about how you can look for a company to create 3D images from scratch if it is something that you would like to have made for your business.
Writing: Concepts and Storyboard
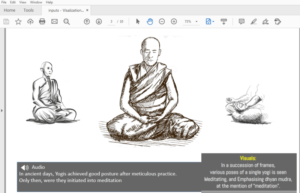
The very first step involved in a 3D production pipeline is the conceptualization of ideas and the creation of the storyboards that translate these ideas into visual form. For Blissage, concepts and story outlining process are a bit same as what we do for 2D production. But, it incorporated an extended 3D scene in the middle, which involves a young woman’s yoga routine. Thus, the story-boarding was done accordingly, suited to both 2D & 3D.
Modeling: Making the 3D models.
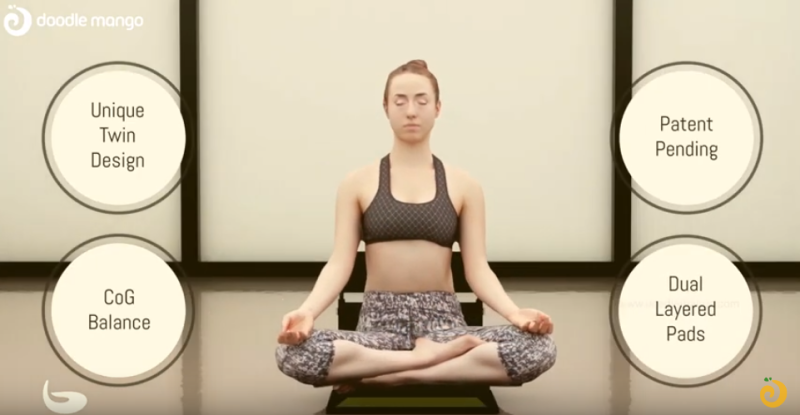
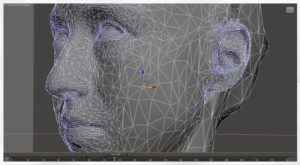
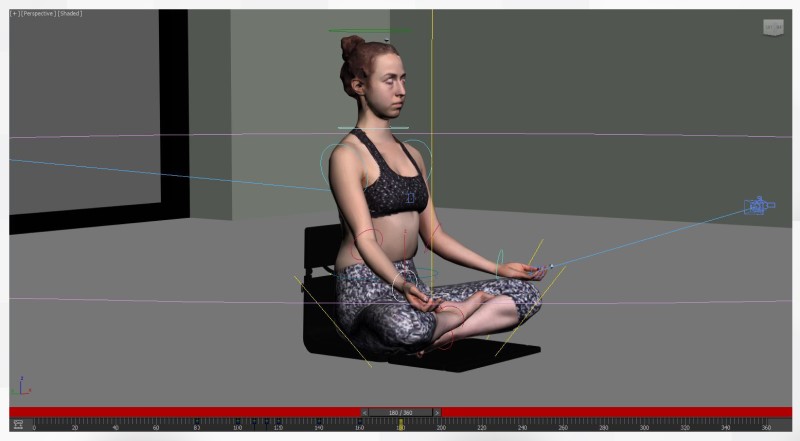
In its simplest form, 3D animation is the process of creating three-dimensional moving images in a digital environment. 3D model of a young yoga woman was made by our 3D artist, which was made sure to match-up with the looks of 2D illustrations of other scenes. The character as well as the yoga mat (the product) were designed with finesse to 360°. Especially, the woman was modeled to look like a real person.
Setting the Look: Textures, Rigging, Lights and Camera
3D Modeling is just the starting point in setting the look for a 3D animation, but, it’s not the entirety. The additional processes involved adding colours/patterns to the elements and characters (texturing); giving bones to the objects for movement (rigging); adding necessary lights to the 3D scene; and, dictating angles to the camera.
In the texturing process, we, basically, skinned the 3D models: the woman with the human skin and clothes textures, and the mat with the respective material. And during rigging, we had to put in those skeletons into the 3D objects for their movement. Finally, the 3D lighting and the camera set (to rotation) onto the objects, finalised the look we are going to deliver in the animation.
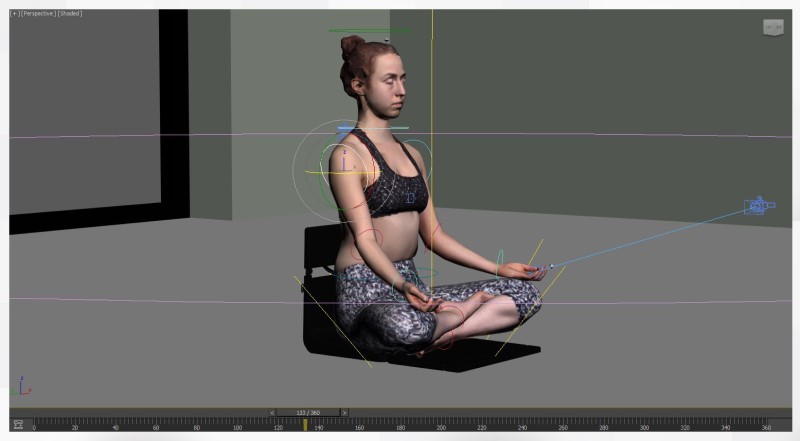
Intermediate: Layout, Animation, and Rendering
In the layout and animation phase, the 3D objects are positioned in such a way that it will appear as if movement is actually occurring on screen. This is where our 3D mat and the yoga character was animated by the 3D animators. Similar to video, rendering in 3D animation is what completes the process, but it’s not the end of our project yet!
Essentials: Effects and Sound
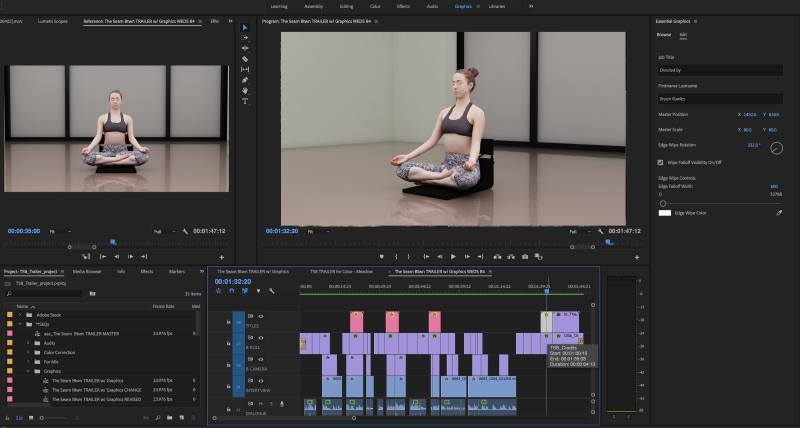
The renders were brought into our compositing program (After Effects) to edit, touch-up and add on special effects. Also, this is the place where we merged our 3D animation with the 2D animation, to go seamless. Then the projectis touched up with the essential sound effects and music, and other necessary effects required.
Voila!
And with the necessary feedbacks and improvements, the video was finally delivered to the client.
Final Output
Check out our channel: DoodleMango – Animated Explainer Videos
Leave a Reply